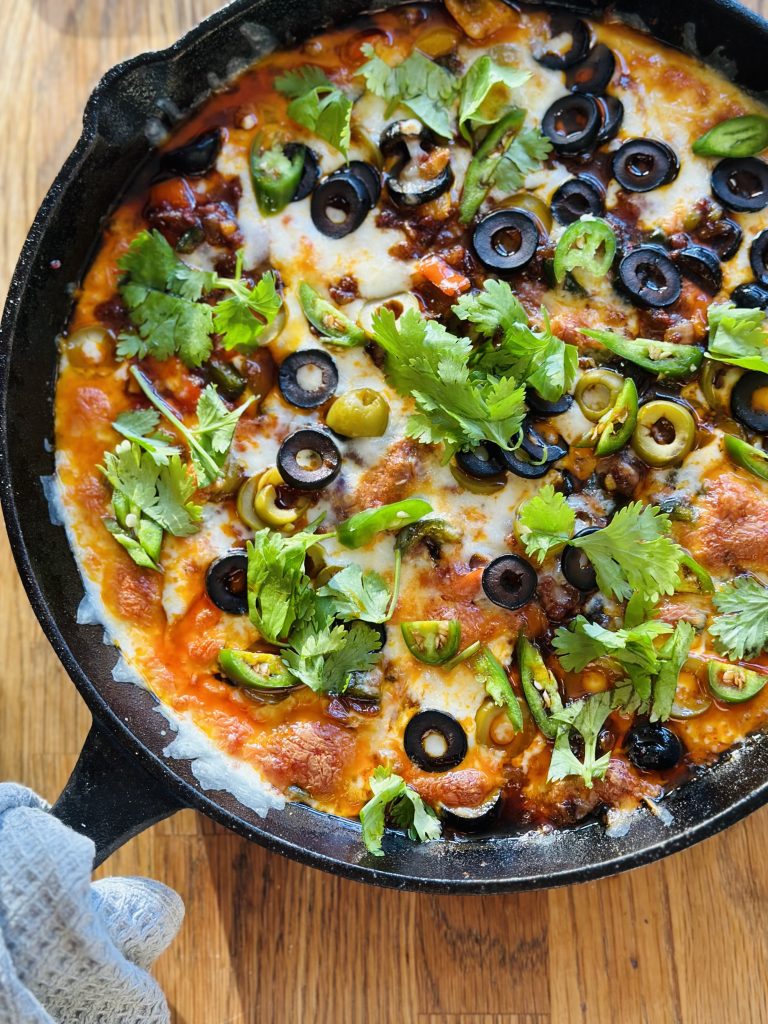
Need a quick appetizer that is full of flavor? This Olive and Pepper Queso Fundido is just what you need to please a crowd. Best of all its a one pan deal that is super easy to make. So whether you’re whipping this up on game night or during the week this is a delicious and easy option! What exactly is Queso fundido? It translates to “melted cheese”, this baked cheese appetizer is composed of melted Oaxacan cheese that offers the perfect cheese pull! But that’s not all, this appetizer has crisp chorizo bits throughout and layers of fresh veg that include peppers, mushrooms and California Ripe Olives. It really is flavor on flavors! Let me tell ya, if I spot queso fundido on the menu-I’m ordering it! Although queso fundido isn’t just reserved for when you hit up your favorite Mexican restaurant bring it to your own kitchen to enjoy any day of the week!
Where did this appetizer originate?
True to Mexican roots the origins of Queso fundido have been traced back to the Mexican Revolution! It makes sense- since it was something that could be thrown together with minimal ingredients and quickly cooked over an open fire. Now days it’s present at families carne asada’s (bbq’s) and even restaurants all with their own flare! This appetizer has come a long way with the addition of several delicious toppings but keeping the traditional base of melting cheese and chorizo.
There are so many versions of Queso fundido but one thing they all have in common is the luxurious blanket of gooey goodness that is sure to please all the cheese lovers in your life! This appetizer can be easily modified to the occasion with the toppings that you prefer so feel free to experiment with your own combos! Queso fundido should not to be confused with creamy and sauce based queso. Sauce queso is incredibly delicious but very different. Sauce queso is commonly used to top nachos, fries and more, I mean the possibilities are truly endless. It has become extremely popular in the United States while Queso fundido has not really gained as much popularity (which we need to change-in my opinion!) You can find queso fundido in various Mexican or Tex-Mex restaurants it’s an incredible and go-to appetizer in Mexico. I would argue it could even stand on it’s own as a whole meal if need be, depending on the toppings. This appetizer is served alongside chips or warm corn tortillas and is completely irresistible. It can be served individually or set the skillet front and center and let everyone dig in. Let me show you how simple it is to put together.
Mode of preparation-
Essential for the elaboration of our Pepper and Olive Queso fundido is a cast iron skillet (9in.)or an oven safe pan. We will cook the majority of our Queso fundido on the stove top but will finish it off in the oven to get the cheese completely melted and bubbly! You want to whip up this Pepper and Olive Queso fundido shortly before you want to serve it if you’re short on time you can chop and prep all the veggies ahead of time.
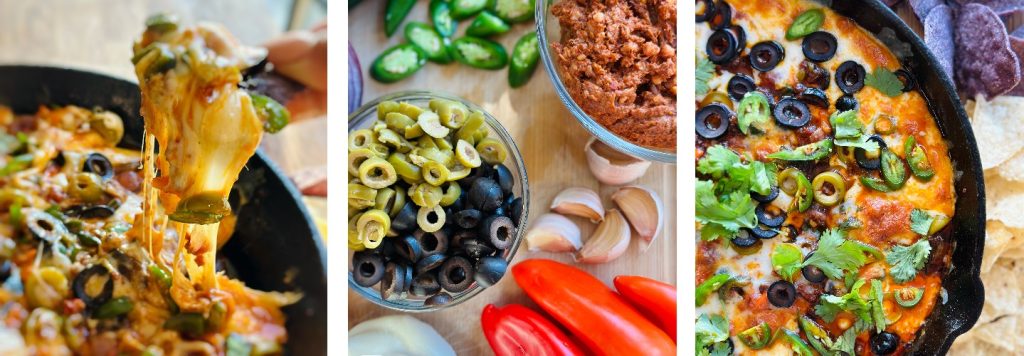
Re-heating and storing- For cheese based appetizers they are best when taken from the oven to the table and enjoyed right away. Fresh is best but if you need to re-heat it, do so by placing the whole skillet back in the oven for a few minutes without mixing all the ingredients together. That can actually cause the cheese to separate and cause it to clump up. OR you can place it in the microwave for a few minutes at a time until the right consistency is achieved. Just be careful not to over heat it
Leftover’s can be stored in an air tight container and stored in the fridge for a few days and re-heated as needed. Leftovers make delicious taquitos and quesadillas too!
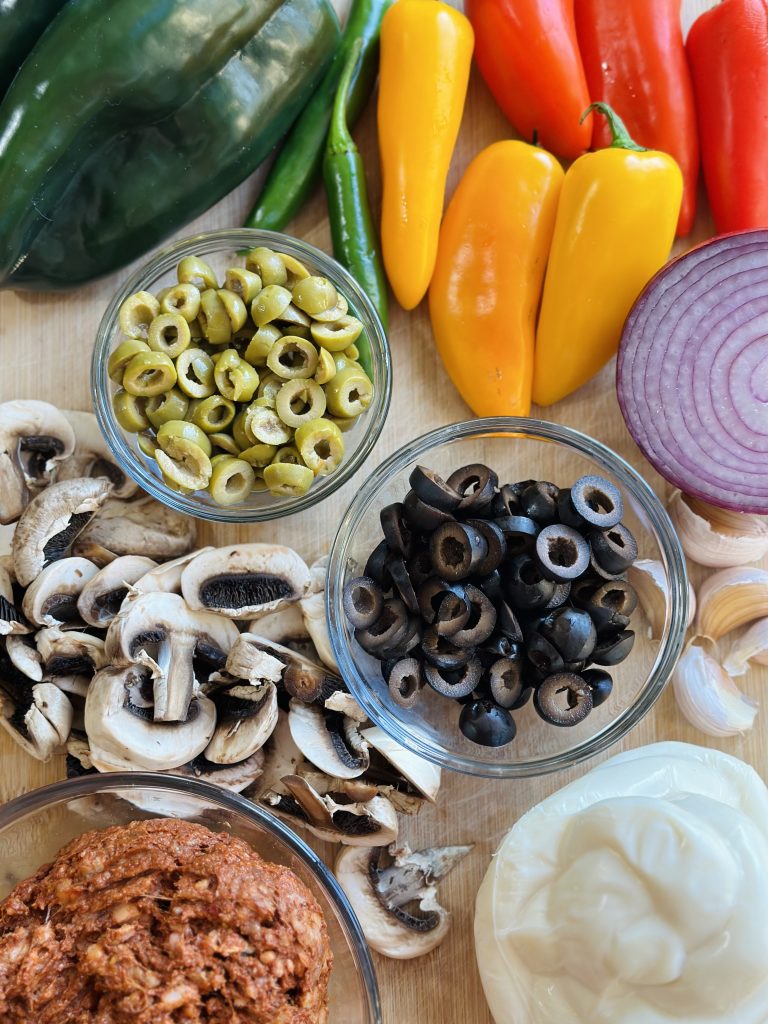
Ingredients needed:
Queso Oaxaca- Queso Oaxaca offers a creamy, cheesy and a perfectly melted base for our Queso fundido. It’s important to pick up a whole block of cheese vs. shredded. Shredded cheese had stabilizers that affect it’s melting power. Queso Oaxaca is usually found in a ball shape and once open it is easy to unroll the rope like braid. Go for a good quality Oaxaca cheese for the best result. You can choose to grate the cheese or simply tear the pieces to cover the entirety of the iron skillet. There are many great melting cheeses out there choose your favorite, Mozzarella , Monterey Jack or Chihuahua cheese are other great options.
Mexican chorizo– Chorizo is packaged like a ground sausage that is packed full of spices, chilis and flavors. Although it’s packaged like a sausage some brands don’t have a casing around it an once removed from the wrapper it’s more like a ground meat, that needs to be cooked until crispy. The texure is what differentiates Mexican chorizo from others. Now days there’s many chorizo options so choose your favorite and it can even be substituted for pork/vegan/veg chorizo options.
Chile poblano- This pepper offers more flavor than just a traditional bell pepper. Smokey, earthy and at times with a subtle kick. This is not a hot pepper by any means but it does contribute in flavor.
Serrano pepper- This is totally optional but I like topping my Queso fundido with some heat. It adds a fresh bite from the crisp and spicy serrano pepper.
Cilantro- Cilantro is not only a beautiful garnish but adds in fresh and bright flavor.
Snacking peppers- I like adding these crunchy peppers for some added color and sweetness.
Red Onion- Adds in mildly sweet and savory flavor without being over powering since it gets cooked down.
Garlic- Minced garlic adds in tons of flavor (and a must in every one of my savory recipes!)
Mushrooms- mushrooms are interesting they seem not to add add much flavor but they act like small sponges that soak up all the seasoning from the chorizo and end up being bursting with flavor.
Cumin and Smoked Paprika- Aromatics and flavor enhancers.
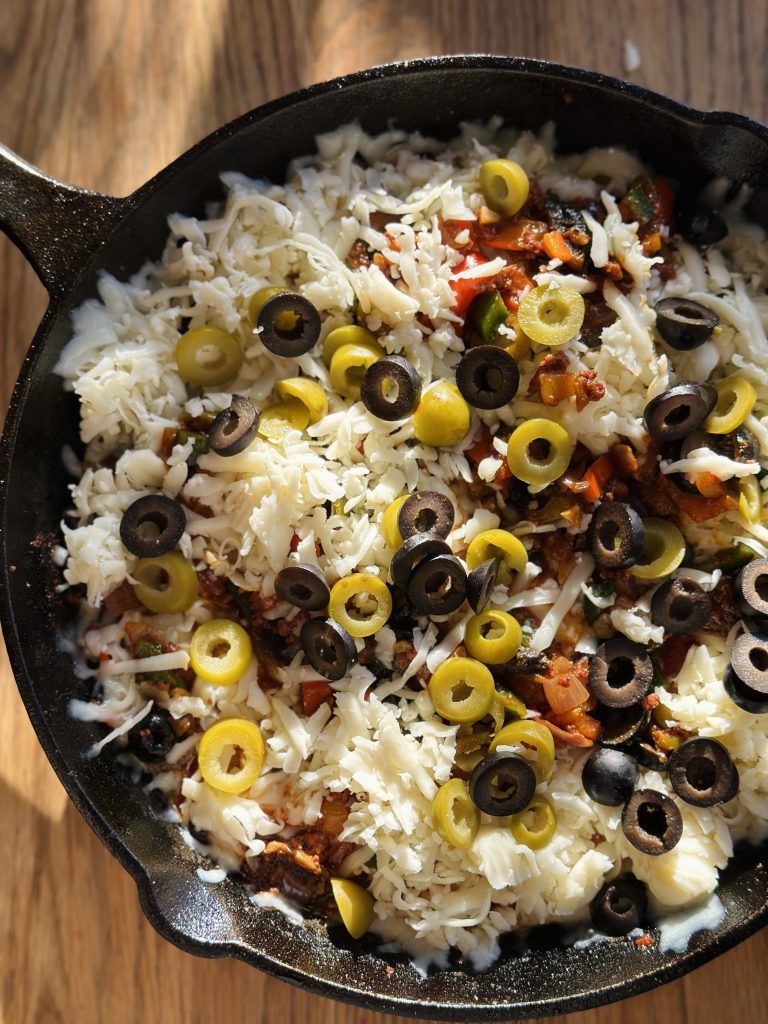
California Ripe Olives- I like using a blend of high quality green and black olives. Olives are rich, nutty and offer a burst of buttery flavor in every bite. Look for the CA GROWN label to ensure you are getting the best possible product. Fun fact olives are technically fruits!
Did you know that 95 % of commercial olives in the U.S are grown in California? And more specifically over 56% of the olive groves are located here in the CA central valley. Hundreds of farmers and their families work each year to bring California Ripe Olives from their farms to your table. The olive groves range from small 5-acre lots to 1,000-acre farms.
Ever wondered what it takes to get California Ripe Olives to your table?
Most Olive groves are owned by multi-generational farmers that have poured their energy and hearts to growing such a delicious crop! Here’s a little about the process.
Planting– Olive trees begin to bloom around May and begin to ripen in the fall. Olive trees are an alternate bearing crop and their production fluctuates year by year. Each tree can produce around 1,000 olives each season. California Ripe Olives are one of two varieties: Manzanillo or Sevillano, coming in at different sizes.
Harvesting-Olives are harvested between September-November and can be hand picked by skilled farmworkers or mechanically harvested. They are harvested when they are still green and have just began to change color.
Processing/ Curing– Olives are cured in a mild salt brine solution to remove bitterness. The process takes 7 days and are pitted afterwards.. The curing process gives Olives that signature taste that we are accustomed to when enjoying a California ripe olive in a meal or a snack.
Ever wondered why some Olives are green and others black? It’s not because of their level of ripeness, this is because the Olives that are exposed to oxygen in their curing chambers take on this dark and rich color. Those that are not exposed keep their green color! Olives are packaged in various forms sliced, chopped and whole and are then sent off to our grocery stores where these little gems are available year round.
One of the reasons I love growing my own food is watching the plants grow and the process to get them to fruition. Gardening sparks my curiosity and I find it fascinating to learn not only about what I’m growing but learning about the way California farmers are growing different crops. Needless to say I am not growing my own olives (Well maybe I do need my own tree! haha) but learning about how our food is grown and handled makes me feel so grateful to be surrounded by such fertile soil and a climate where many crops thrive.
The combination of ingredients in this Olive and Queso fundido work like magic! The textures colors and flavors are all not just a delicious combo for the palate but also a visually stunning appetizer! A big part of family time revolves around food it doesn’t have to be time consuming or difficult to make delicious meals. It’s a breeze to make flavorful meals when you have quality ingredients and fresh produce. Pairing fresh vegetables with big flavors in the kitchen is so rewarding and I’m thrilled to be sharing this delicious recipe with you all!
This post was made in partnership with CA grown & California Ripe Olives all expressed opinions and recipes shared are my own. I am thankful to share about the bounty our state has to offer and recipes to make with in season produce. Check out other delicious and creative ways to use your California ripe Olives and more info on how they’re grown!
Olive & Pepper Queso Fundido
Ingredients
Equipment
Method
- Start by dicing the onion, peppers and roughly chopping the mushrooms
- Mince the fresh garlic
- In a cast iron skillet over medium high heat, cook chorizo until lightly crisp
- Into the same pan add in onion, and garlic cook for a few minutes.
- Next add in chopped peppers, roughly chopped mushroom, half the green and black olives as well as spices sauté for 3-4 minutes.
- Reserve 1/3 of the veggie and chorizo mixture into a bowl and set a side.
- In the cast iron skillet top remaining mixture with Oaxaca cheese and dallop the reserved veggie mixture on top, as well as the remaining olives.
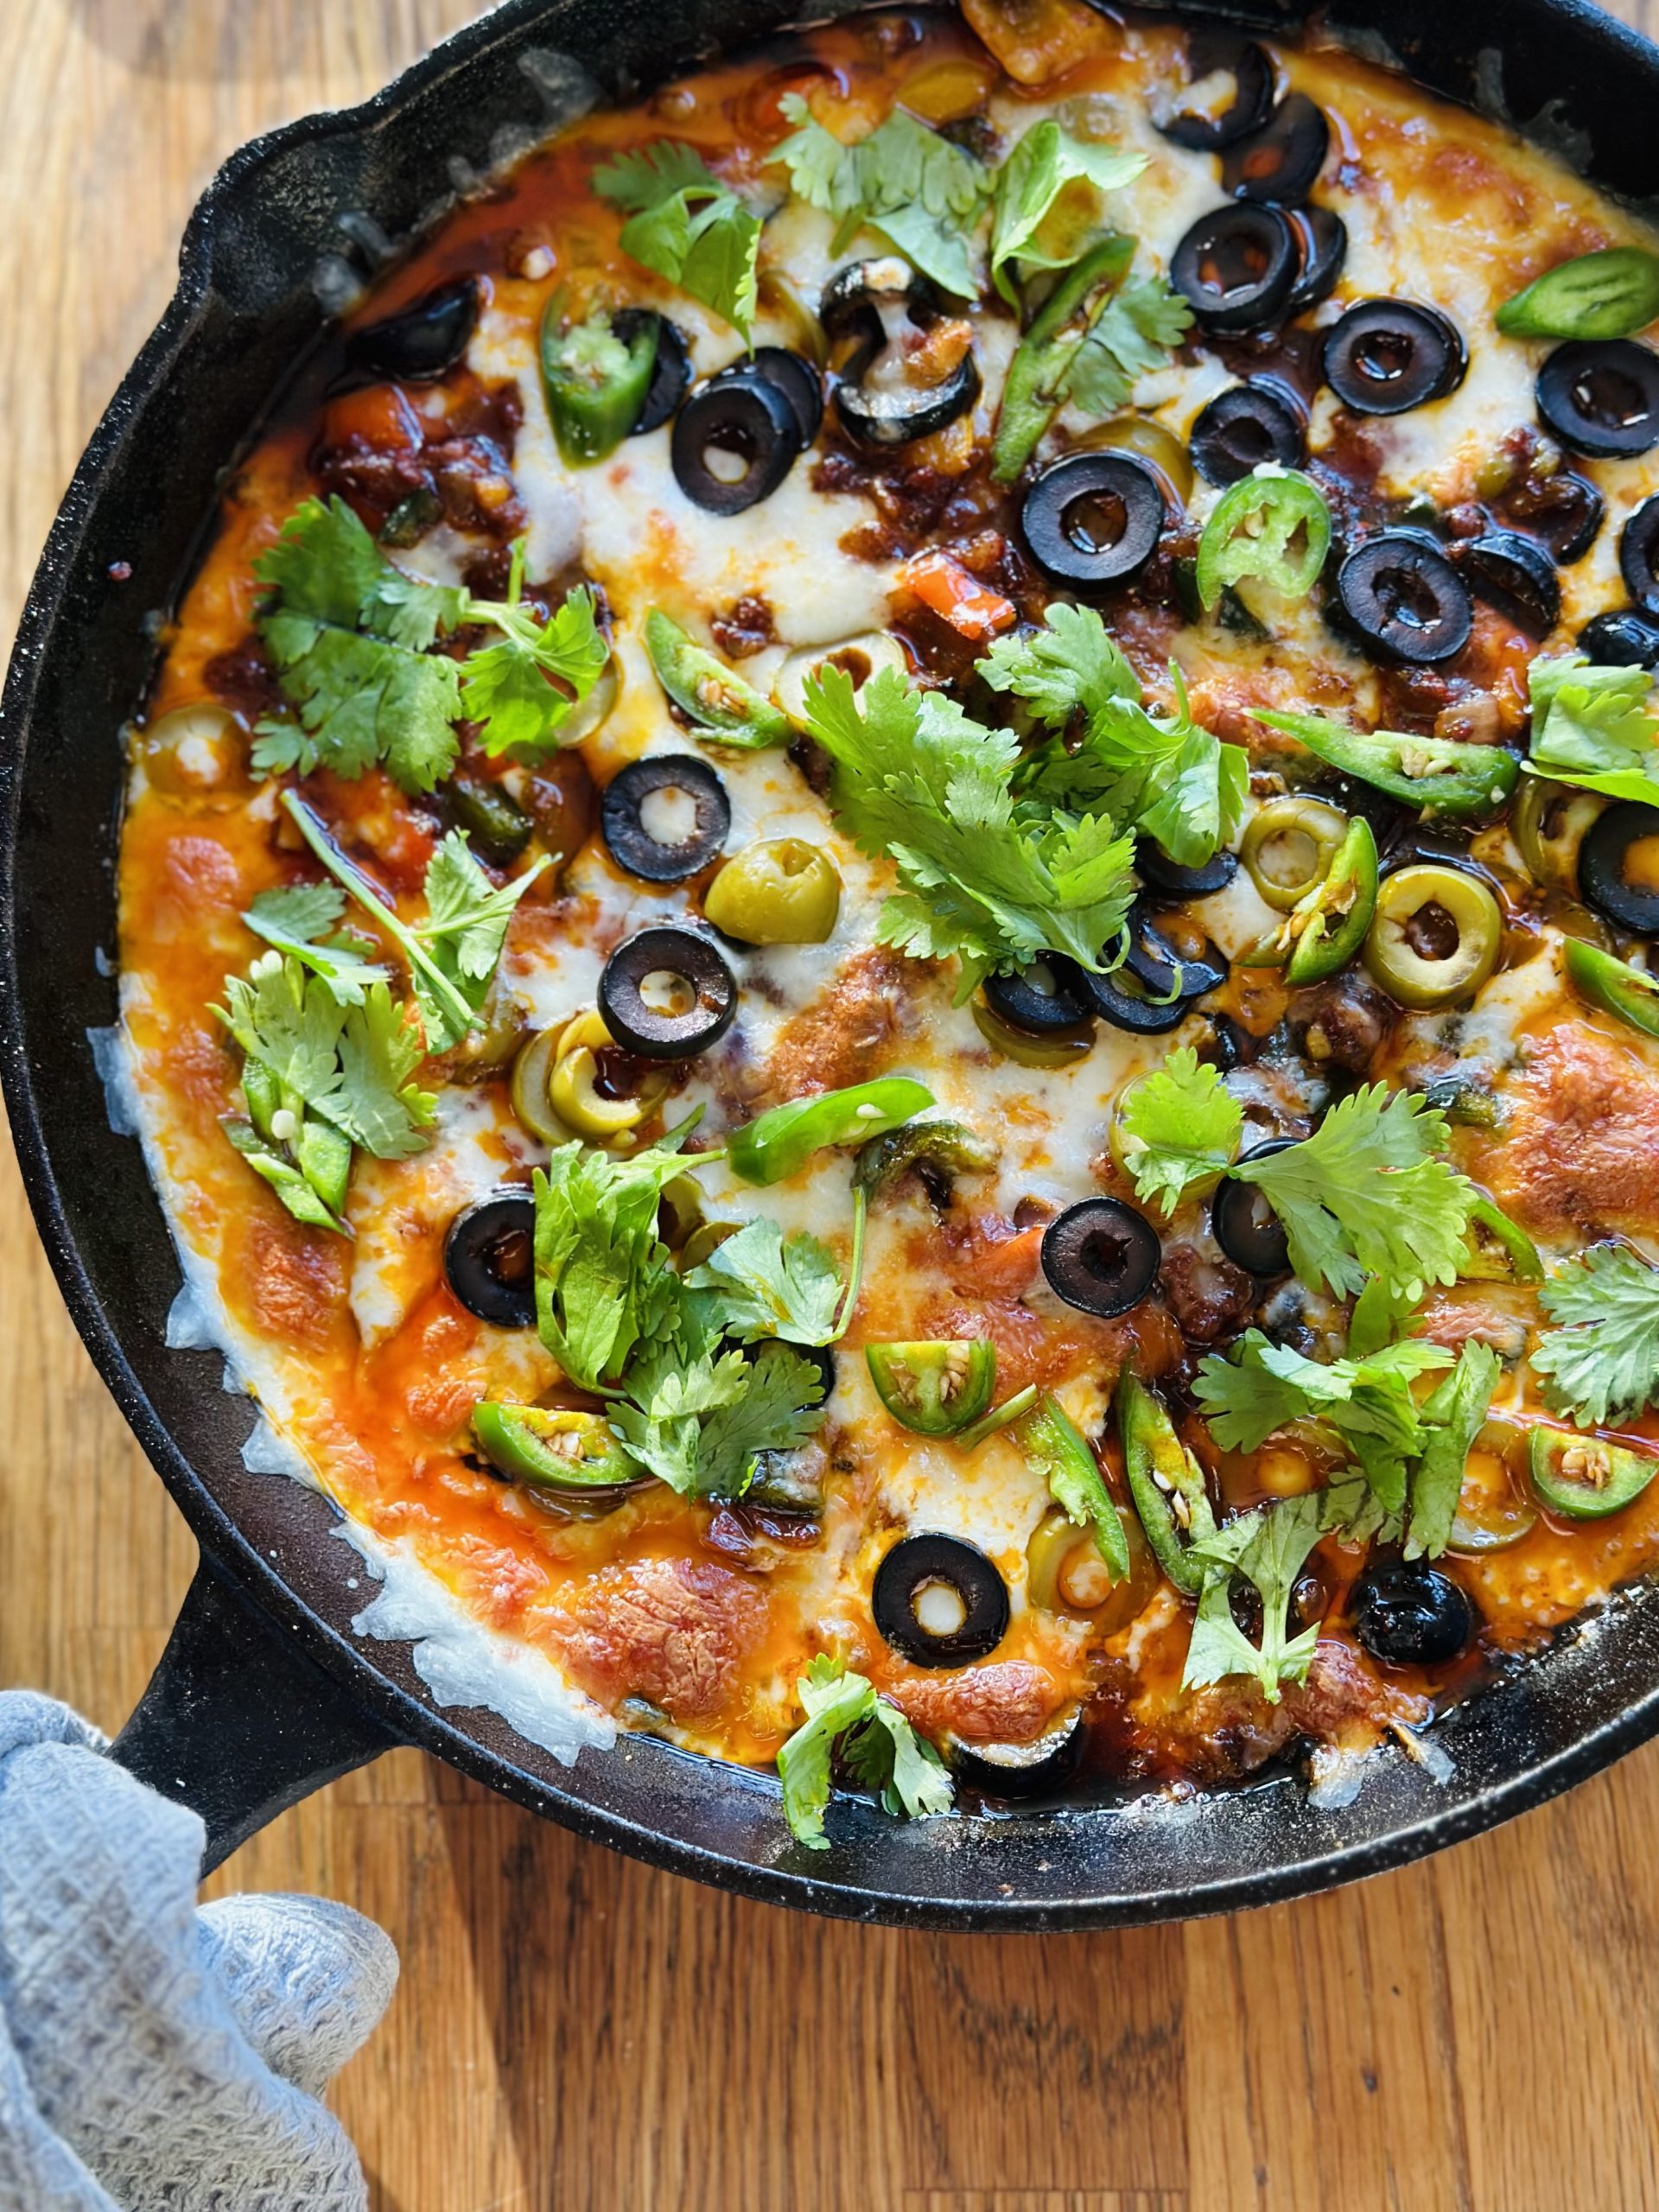
- Place into the oven at 350 °F for 15-18 minutes until cheese is bubbly and melted. Top with chopped cilantro and serrano pepper (optional for a kick of heat)
- Enjoy while warm and serve alongside chips or tortillas!


