As I eagerly await spring and the endless possibilities of a new season, it fills me excitement to think about the year ahead. I hope you use this information packed guide as a resource as we kick off the 2025 gardening season, to start all those fun vegetable varieties for your own garden.
In this seed starting guide I will go over my no fuss methods of starting my seeds indoors and outdoors. When and how to start seeds. Why you should know your first and last frost date & growing zone. I will share with you what I like starting from seed indoors versus what is better off direct sowed. As well as my planting schedule for my (zone 9b) garden. Don’t worry this is a general guideline that will help you figure out when to start seeds in ANY zone.
Let me just say this right at the fore front, start small. Seed starting is not difficult, but it takes time to learn a new skill. As a new gardener learning the basics of seed starting is one of the greatest tools you can add to your garden toolbox. Be patient with yourself and know that failure is always part of the process just keep going. I promise it gets easier and with time you will better understand how to grow in your area and when to start seeds. But remember NOTHING beats hands on experience so just go for it!
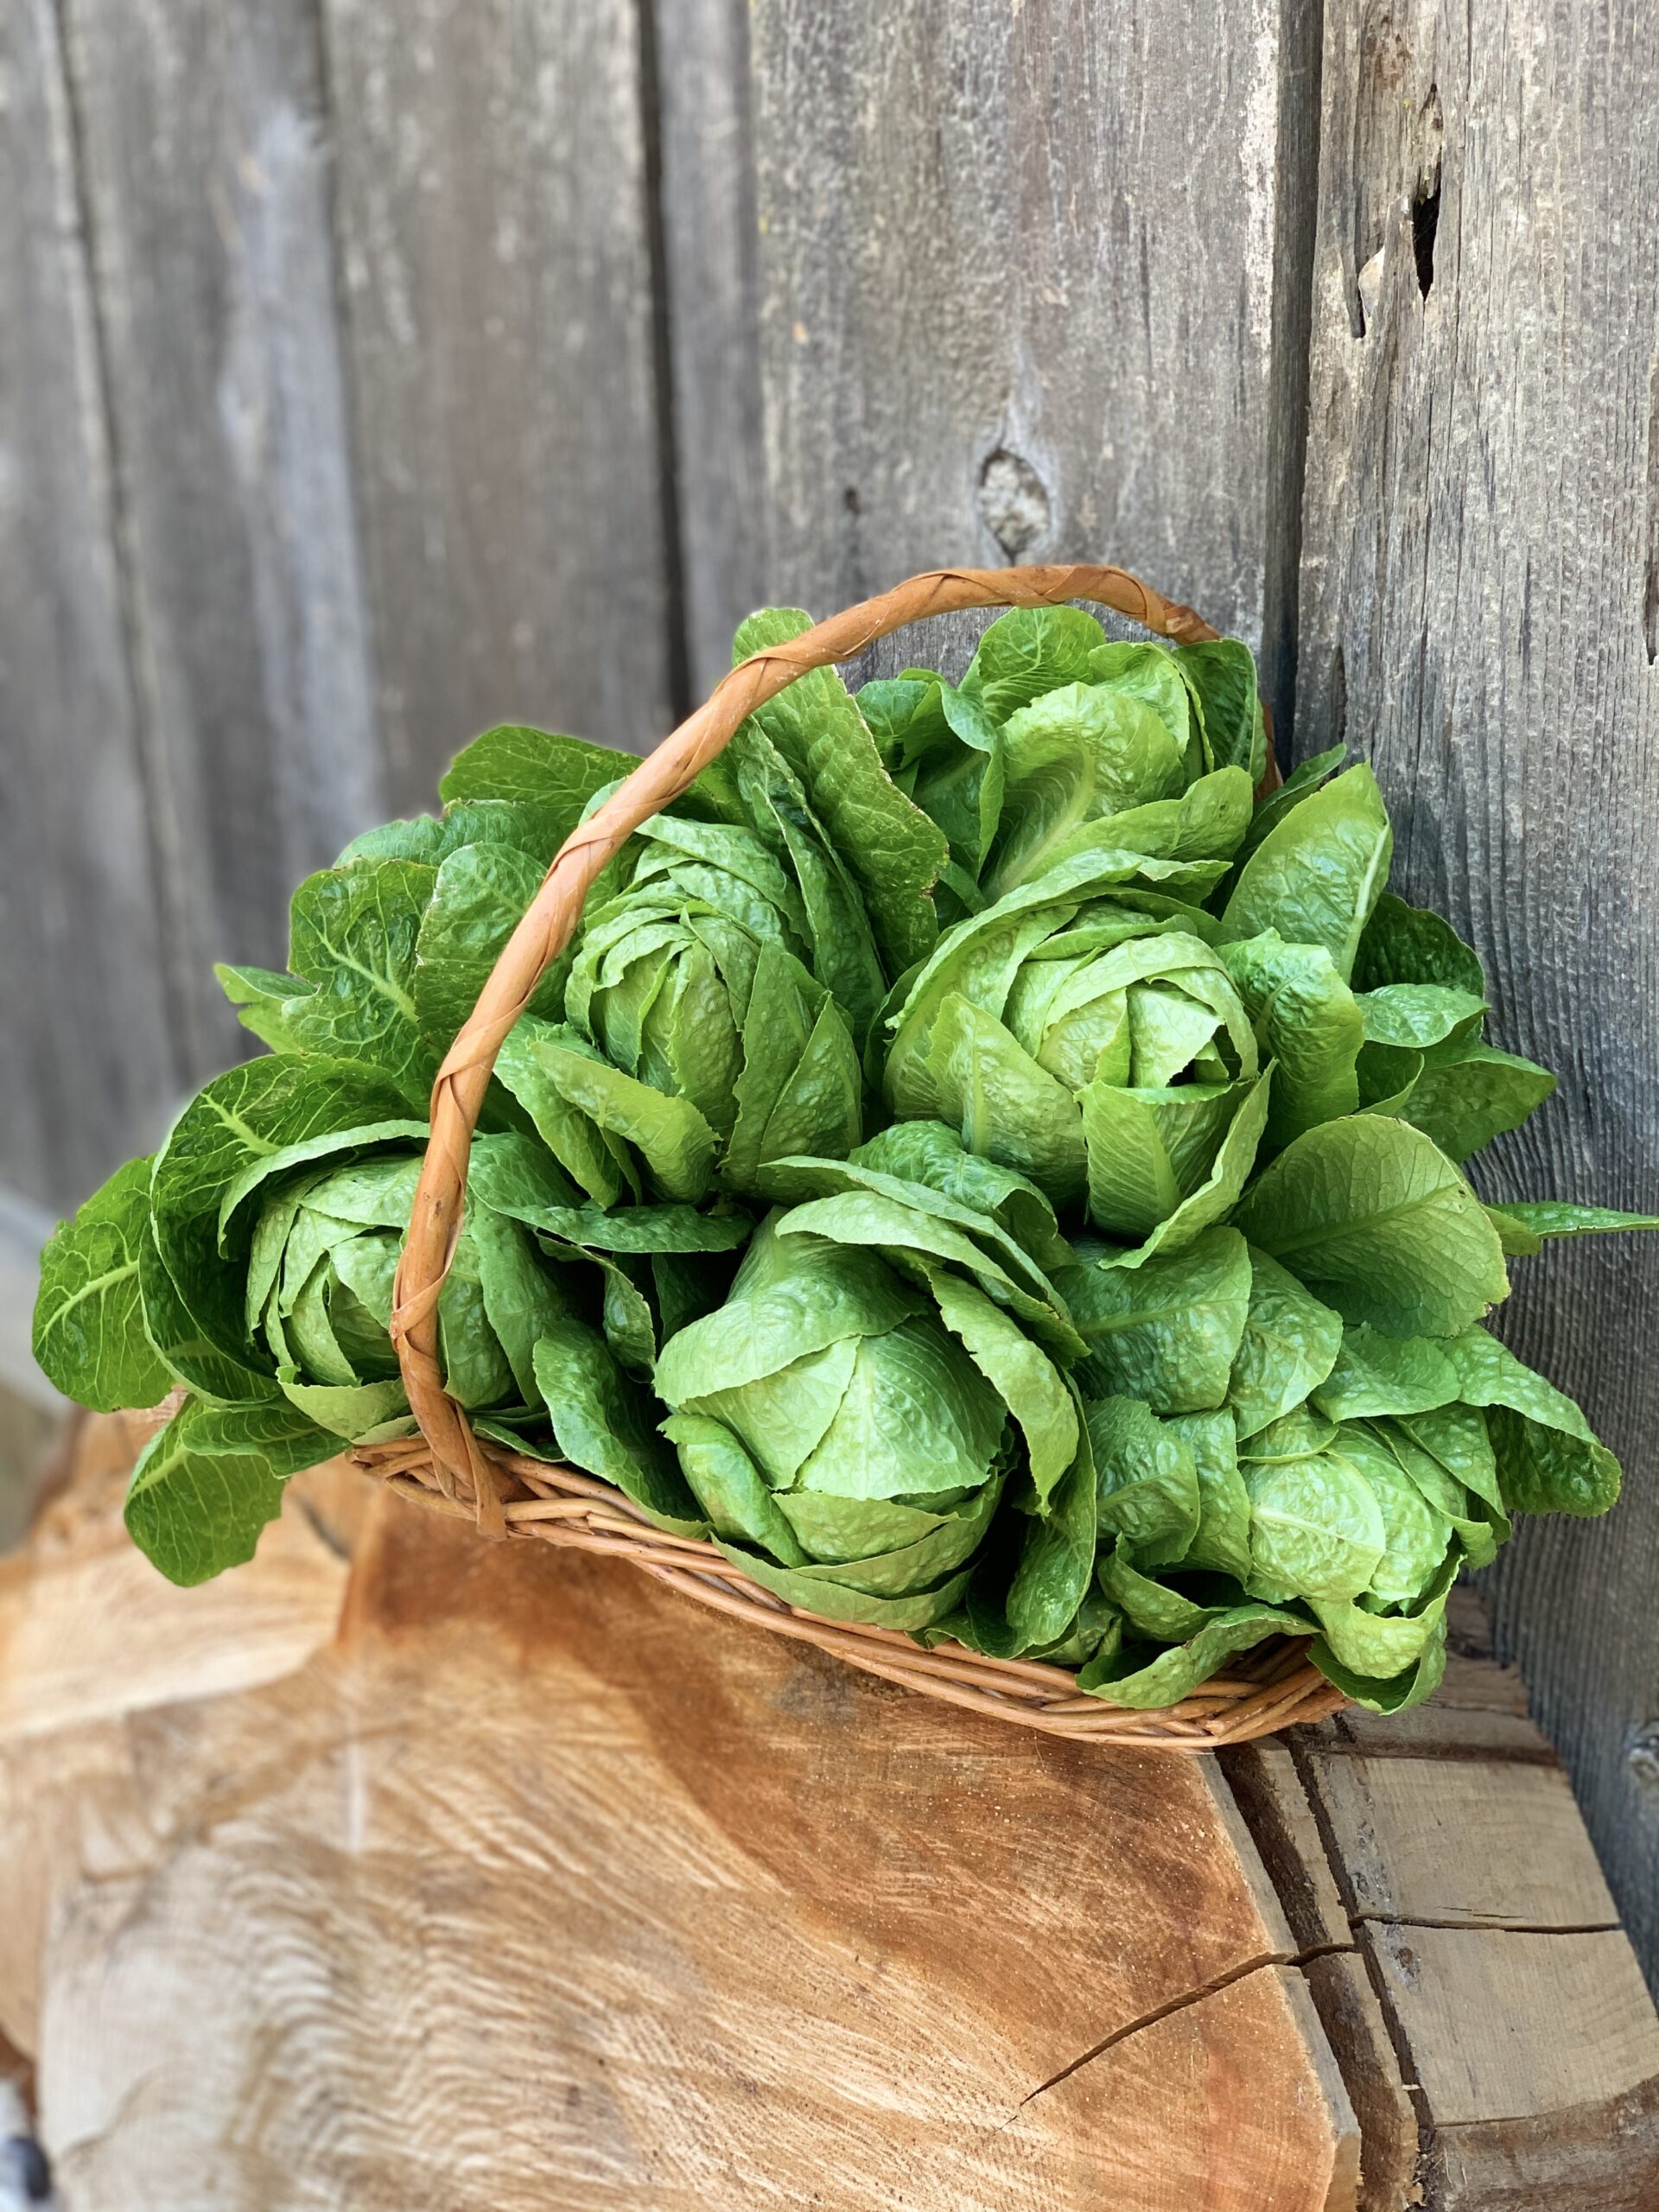
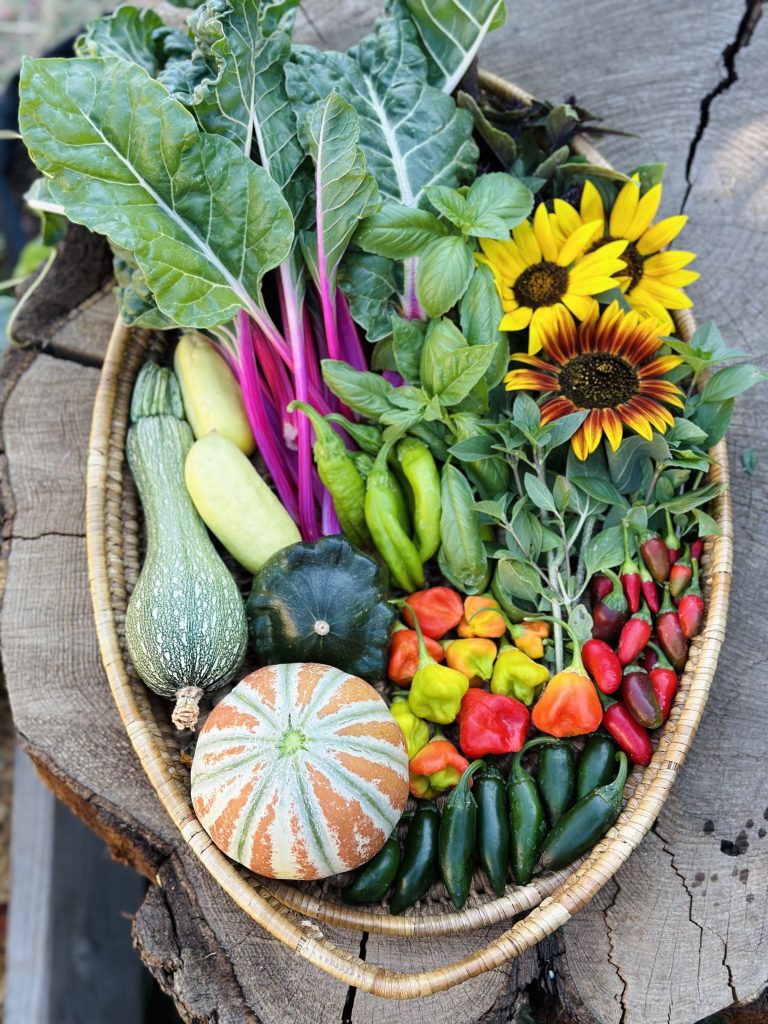
Growing from seed is so rewarding and the most economical way to start off your garden. You will be amazed at all the fun varieties that seed starting offers! The varieties that are available at some nurseries and big box stores are usually very limited. It’s also quite expensive to start your whole garden from transplants, prices are skyrocketing at the moment! For the price of one transplant, you can pick up a couple of seed packets that can be grown into dozens of plants. Around this month seed catalogs are hitting the mailboxes. Make sure to sign up for them, most are free and have tons of good information. Plus, you get acquainted with new varieties of the veggies you like eating.
If you’re a new gardener, try growing a few things from seed this year. Every season you will be able to shorten the list of the transplants you buy. That being said, there is nothing wrong if you decide to buy transplants. On occasion I still pick some up for my garden, especially perennials. Let’s go over the things that I would recommend picking up and those you can skip because they grow rapidly when started from seed.
Here’s a few vegetables that are worth buying as transplants; peppers, eggplants, tomatoes, broccoli, cauliflower, cabbage, brussels sprouts, celery. These veggies that take longer (2-3 months) to get established from seed. If you’re short on time those are the ones I would suggest picking up as transplants. Certain herbs like rosemary, oregano, sage, lavender and other woody herbs have a long period from seed to maturity. They are perennials in many zones, those are also worth the purchase in my opinion. Herb starts are usually a one time purchase that will keep producing and can easily be overwintered or propagated to keep them growing.
Things I don’t recommend purchasing as transplants are various leafy greens (kale, lettuce, Swiss chard, arugula, spinach) peas, root crops like beets, carrots, radishes. Those are easily started from seed. With root vegetables it’s best to start them from seeds. Transplanting can often times damage the tap root and stunt their growth. Leafy herbs like parsley, cilantro, dill, chamomile grow pretty fast, I usually start those from seed as well.
Here are some seed companies I like purchasing seeds from (in no particular order):
- Bakercreek
- Kitazawa seed Co.
- Eden brothers
- Lake valley seeds
- Botanical interests
- Renee’s Garden
- True Leaf Market
- Johnny’s seeds
When purchasing seeds you may notice that some are labeled organic and non GMO. I personally don’t go out of my way to buy organic seeds, because I know that I will garden with organic practices regardless. As far as non GMO seeds (genetically modified organism) for the most part GMO seeds are reserved for commercial farmers and there is contracts to be filled in order to obtain them. Although as of 2024 some seed companies have started to roll some varieties out. So it is something to keep and eye out for, especially if you are trying to save seeds from your plants.
Heirloom seeds VS. Hybrid seeds
Which to buy? In short heirloom seeds are varieties that have been around for a long time (50+ years) and have been passed down by generations. One advantage of growing heirlooms is that seeds are able to be saved and you will get an exact plant as those you saved it from. Hybrid seeds on the other hand are basically the crossing of two plants that are bred for specific characteristics such as stronger disease resistance, larger fruit production. When saving seeds from these plants you will get a plant, but it will not have the same characteristics as the mother plant. So, hybrid seeds need to be repurchased every year. Hybrid seeds are not BAD you can easily create your own hybrid plants in your garden if say two chili plants cross pollinate and seeds are saved and regrown the next year. This is not to be confused with GMO seeds. (this is a complex topic I’m explaining very simply)
I grow mostly heirlooms in my garden with a few hybrids here and there, that mature earlier and are heat tolerant. Since sometimes our spring is cut short by intense summer heat.
Let’s go over some basic terms you will come across on this guide.
Direct sowing- planting a seed outdoors directly where the plant will grow whether that’s inground, raised bed or container.
Transplant– seedling that has been started in a smaller pot (indoors or outdoors) and transplanted into the garden.
Cluster sowing- Sowing more than one seed in a small area or pot; to be separated and thinned once bigger in size.
Thinning- Removing or cutting seedlings at the base to achieve proper spacing between plants. This allows for airflow and less disease.
Perennial- plants that can survive your winter temperatures and at times go dormant and come back in the spring. Perennials can live for many years and short-lived perennials for a few years.
Hardening off- gradually exposing indoor seedlings to the outdoor elements. Ex. Placing seedlings outside starting with 30 min and increasing an hour daily for a week prior to transplanting outside. This will let them get adjusted slowly and not suffer transplant shock.
Brassicas- Plants in the mustard family also known as cruciferous vegetables Ex. Broccoli, Kohlrabi, Romanesco, turnips, radishes, cabbages mustard greens the list is long. These are cold hardy vegetables that grow best in cool weather.
Succession planting- Staggered planting the same varieties every few weeks will help maximize and elongate your harvest and you won’t have to deal with harvesting all at once.
Bolt- When a plant starts to flower and put its energy into producing seeds instead of fruit.
How do you know when it’s the right time to sow seeds?
That is very dependent on the climate and area you are growing in. Your planting schedule will differ from your friends growing in other regions and states.
There is two pieces of information we need to find before we get started. I have provided links that will pull up this information for you by simply entering your zip code.
Let’s start by finding your first and last frost dates for your area. This is vital information you need as a gardener to properly plan out your seed starting. This will let you know how long your growing season is and will serve as a guide to plan out your schedule to start sowing seeds for warm weather crops after your last frost. For cool season crops sow 4-8 weeks before last frost if your area allows.
2025 Frost Dates: First and Last Frost Dates by ZIP Code | The Old Farmer’s Almanac | Almanac.com
Another piece of information we need is your garden zone. If you are gardening in the U.S The United States department of agriculture provides a plant hardiness map. This will tell you the average lowest temperatures in your specific area. The U.S is divided into 13 growing zones that differ by 10 degrees Fahrenheit. Why does that matter? Perennial plants and fruit trees can only withstand specific low temperatures and if you want them to keep coming back year after year knowing your zone will help you pick varieties of plants that will thrive in your climate and survive your winter lows. (Ex. Fruit trees, blueberries, flower tubers, bulbs, herbs)
USDA Plant Hardiness Zone Map | USDA Plant Hardiness Zone Map
One more thing to note about your zone, is even if you’re growing in the same zone as someone else your first and last frost days may differ depending on altitude and location. The only thing the zone really tells you is your extreme winter lows.
- My garden zone________________________
- My first frost date______________________
- My last frost date ____________________
- Days in my growing season_____________
Most vegetables found in the garden are grown as annuals, which means they will complete their life cycle in one year. They will produce fruit and die off; they will need to be replanted the following year. So don’t worry regardless of your zone you can grow a bountiful garden. (One tip is to see what varieties gardeners are successfully growing in your area. Ask around!)
The first hard frost (28 degrees Fahrenheit and lower) is a gardeners most dreaded day. Warm season vegetables will be killed once that first hard freeze hits. There are ways to extend your season, like growing in a high tunnel, greenhouse or using frost blankets and covers. There are definitely ways to get creative and grow even through the cold months especially in the southern states. Some Northern gardeners prefer to put their gardens to bed and welcome a new gardening season the following spring because of harsh winter weather.
For states that are in the southern part of the United States that do not see a freeze or have mild winters it is possible to keep growing cold hardy veggies all fall and winter long. Here in the California central valley, I’m lucky enough to be able to grow year-round. That means seeds are always getting started indoors or outdoors. Let’s dig in and talk about when to start direct sowing into the garden and how to start seed indoors! In my garden I do a combination of both and there are benefits to both methods I’ll explain.
Starting Seeds Outdoors
Every crop has a different temperature requirement. To get a plant to develop fruit it needs to be planted when the temperature and climate is suited for it to thrive especially when direct sowed.
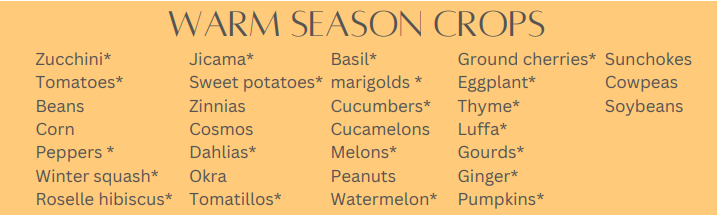
I have separated the most common vegetables, herbs and a few flowers into two groups. We have the cool season crops and warm weather crops.
Cool season crops thrive in temperatures under 75 degrees Fahrenheit, they are cold tolerant crops that can handle a light freeze and the cooler spring nights. These need to be planted out into the garden very early spring before the summer temperatures rise, causing them to bolt. If your soil is workable, meaning there is no snow you can direct sow these in 4-8 weeks before your last frost. When temperatures dip below freezing, they can be protected with frost cover. In areas with harsh climates plant as soon as the soil is workable nearing your last frost.
With a little planning you may be able to get another round of cool weather crops before your first frost. Direct sowing cool season crops with the help of some shade and nurturing in mid-summer can also be done, if you don’t have an indoor starting area. This can pay off and give you a harvest before the frost comes again. This is called fall planting.

*In warm and mild climates where temperatures slightly dip below freezing (32 F) or not at all. Gardeners can continue growing through the fall and winter months. Mainly cool season crops & succession planting until early spring. Slow growth is experienced because of the shorter days and fewer daylight hours but once days start to get longer those overwintered veggies will pop with growth!
Warm season crops thrive in day temperatures above day temperatures above 70-75+ degrees and night time temperatures above 50 degrees. It’s best to wait a couple of weeks after your last frost to get seeds for these in the soil. Once days are consistently warm they can be direct sowed or transplanted into the garden. This group of crops will not survive a hard freeze.
Location- Depending on your garden space, seeds can be sown in containers, raised beds or inground. Choose a spot for your garden that has good drainage and is not shaded by large trees or structures for large parts of the day.
Sun requirements– Most vegetable plants need a spot in the garden with at least 6-8 hours of full sun. Areas with really hot climates (like here in the Central Valley) can get away with fewer hours. Choose an area with full morning sun and afternoon shade, that would be ideal! (The use of shade cloth is something I really benefit from here in the summer months. Our summer temperatures can be in the triple digit’s days at a time. Too much sun can sunburn plants and cause blooms to fall off resulting in slower production. I use 50% shade cloth in my garden during the summer months, mainly my tomatoes and peppers.
Soil- since we are direct sowing into the garden using a light potting mix mixed in with compost that is fluffy will help seeds germinate. For inground gardens where the native soils can be sandy, or clay amend the soil by adding compost before direct sowing seeds. If you want to take it a step further and get your soil tested ahead of time that will tell you exactly what nutrients are lacking and what amendments need to be added. I’ll be honest though I’ve never had my soil tested and have successfully grow a lot of food!
Spacing – Plants need enough space around them to grow without being overcrowded and competing for nutrients. I prefer to sow heavily when direct sowing, that gives me some insurance if some seeds are not viable or small seedlings get eaten by pests. Once plants are a few inches big I will thin out plants by cutting at the base and leaving the strongest ones to grow to maturity. You can check seed packages for recommend spacing but keep in mind that most of them are suggesting spacing for growing in rows. Square foot gardening guidelines work really well for raised beds. I like maximizing my space using vertical trellis supports to grow vining plants. Like cucumbers, melons, beans and even indeterminate tomatoes.
Depth- A good rule of thumb is to sow seeds 2 x deep as their size. Seeds have limited energy and if sown too deep they will not have enough energy to sprout through the soil.
Watering- In areas that receive plenty of rainfall to keep seeds consistently moist no supplemental watering is needed. It is very important that seeds don’t dry out, if your area doesn’t get much rain watering by hand is necessary. Letting the seeds dry out may result in poor germination. Once the seedlings are about 2-3 in tall water can be slightly reduced. To check if plants in your beds or pots need water poke your finger into the soil if the first 2″ feels dry go ahead and give the garden a drink. If it is still moist hold off on watering and check back the next day. I wish I could give you an exact watering schedule, but it all depends on how hot it is, how much rain you are getting. Let me just say don’t over complicate it plants are resilient.
Fertilizing- Once your seedlings have their first set of true leaves, I like to give them a ½ dose of organic fish fertilizer. Keeping up with fertilizing will grow healthy plants. Make sure to follow recommended frequency on fertilizers and dosage. (I use ARBERS plant food or Alaska fish fertilizer)
Direct sowing seeds outdoors has many benefits and makes for stronger, resilient plants that are acclimated from the start. All you need is some good soil, plenty of sunlight, consistent moisture and some patience. Don’t be alarmed if your seeds take longer that the package says especially with cool season crops.
It’s totally normal if you run into pest issues. One of the issues that I come across is pill bugs eating seedlings a soon as they emerge. To combat this I will add fruit scraps around areas that are newly planted. That usually will keep them away from my seedlings until they are big enough to take a little damage. OR sprinkle sluggo bait around the newly planted area.
Seed Starting Indoors
Why would you want to start seeds indoors you ask? Although plenty of reasons the main one is to get a head start on the season and transplant seedlings outdoors when temperatures are ideal for them to grow. This is especially important if you are a gardener with a shorter season. (if this is the case finding early maturing varieties suited for short season is also a good idea)
As a gardener in a long season, I choose to start some of my veggies indoors because it gives me more control over my seedlings and a head start on the season. This also gives me the ability to have succession plantings going into the garden, to maximize my harvests. Another nice thing is no pest pressure!
Prepare to start your indoor seedlings 4-8 weeks before your LAST FROST Starting with cool season crops those can be transplanted out as soon as the soil is workable and there is no more hard frost danger. Moving on to warm season crops that can be transplanted once days are consistently above 70-75 degrees F and nights are above 50 degrees F. (starting peppers, eggplants, celery as soon as 12 weeks before)
I don’t start all my veggies indoors. Mostly those that take a long time to grow, like tomatoes, eggplants, peppers, cauliflower, broccoli, cabbage, Brussel sprouts, those take a really longtime to mature and starting them indoors will let us have good size transplants as soon as the weather permits to plant them outside. At times I have also started a variety of flowers, herbs like chamomile and greens (kale, lettuces) with good success. (I marked with a * what can be started indoors on the charts above. That doesn’t mean that its necessary to start them all inside. I direct sow a lot of the summer garden since its warm everything germinates quick. I also like starting things in small pots outdoors and transplanting them into the garden once they are big enough)
Some vegetables do better off direct sown rather than started indoors. That includes most root vegetables like beets, carrots, turnips, radishes, they have a main tap root that if disturbed can stunt their growth. Beans & peas also appreciate being direct sown into the garden. I like to think there is no rules in gardening so I’m sure if transplanted carefully it could work you will have to decide if you will take the risk.
There are a few things that you need to have in place to successfully start seeds indoors and get them off to a good healthy transplant size.
- Heat mat
- Grow lights OR Shop lights with the following light specifications (5000k-6500k) and (2,000-3,000 lumens)
- 72 seed trays with plastic domes (or preferred sizes)
- Seed starting mix (I like black gold/homemade) OR sifted potting soil
- 2-4″ pots
- Seed starting area that accommodates growing plants.
- Small fan
- Timer (optional)
- Plant labels/ marker
One of the most important things for indoor seed starting is giving the plants sufficient light. If this doesn’t happen, you will notice the seedlings will be weak and leggy stretching out for the sun. Make sure the lights you purchase completely cover the length and width of your trays and the lights are placed above them 2 in away from your plants moving up as they grow. I have two shop lights side by side to cover all the surface are of my trays. Bright windows are not sufficient to start seedlings indoors.
There is many indoor grow light set ups available for purchase online specifically for gardening. Choose the size that works best for your space.
I’m going to let you in on a little secret…I’ve been using plain old shop lights (4ft long) that fit 2 (T12) fluorescent light bulbs! This works just as well and they are a fraction of the cost. I’ve been using mine for years! The trick is in the bulbs I use a cool tone bulb 6500k (2900 lumens) and a warm white tone bulb 3000k (2900 lumens) These are suited for seedlings that will be transplanted outdoors not for growing full size fruiting plants indoors. (Unfortunately, this set up has been discontinued but shop LED lights with bulbs that are somewhere in this range of specifications will work just as well! 5000k- 6500k & 2000-3000 lumens
- Start by premoistening the seedling mix it should be fully saturated but not dripping when pressed together. Filling our trays with mix and then watering would actually be hydrophobic and repel the water, so make sure you premoisten it in a big bowl prior. I prefer using premade seedling mix because its fluffy without big clumps and the perfect medium to start seeds in. (you can make your own seedling mix but if you’re just starting out, I would recommend purchasing) If you can’t find seedling mix you can use sifted potting mix, just remove bigger pieces of debri.
- Next choose your pots or trays where you will start your seeds and fill them with moistened seedling mix. I like using a 72-cell tray that have a plastic dome to keep the humidity in. I have also in the past used 2 in pots, egg cartons, upcycled yogurt cups or even solo cups. To keep humidity in I used a small piece of plastic wrap. Gardening can be as expensive or as inexpensive as we make it.
- Once your trays or pots are filled decide whether you will cluster sow or prefer to keep one plant per cell/pot. Personally, I like cluster sowing (3-4 seeds per cell) and separating after for smaller seeds. Bigger seeds like squash I do individual, don’t forget to label and date each variety. (I like using DIY labels made from yogurt cups) Keep in mind that you will need to up pot if you start seedlings in the 72-cell tray.
- Sow seeds 2x as deep as their seed size and keep continuously moist but not drenched. Keep same variety of plants together so they can go under the grow lights evenly. Cover with humidity dome and place on a heat mat at 75 degrees if they are warm season crops. For cool season crops ambient temperature is fine.
- Once seedlings emerge (check on them daily) the humidity dome needs to be taken off right away and heat mat turned off to prevent them from becoming leggy.
- Once seeds germinate, they need to go under the grow light immediately. Place the grow lights directly above seedlings 2 in away from the top of them. Moving the lights up as they grow. Lights should be left on for 12 hours during the day.
- Place the small fan nearby pointing at seedlings this will help strengthen their roots and stems. Simulating and outdoor environment.
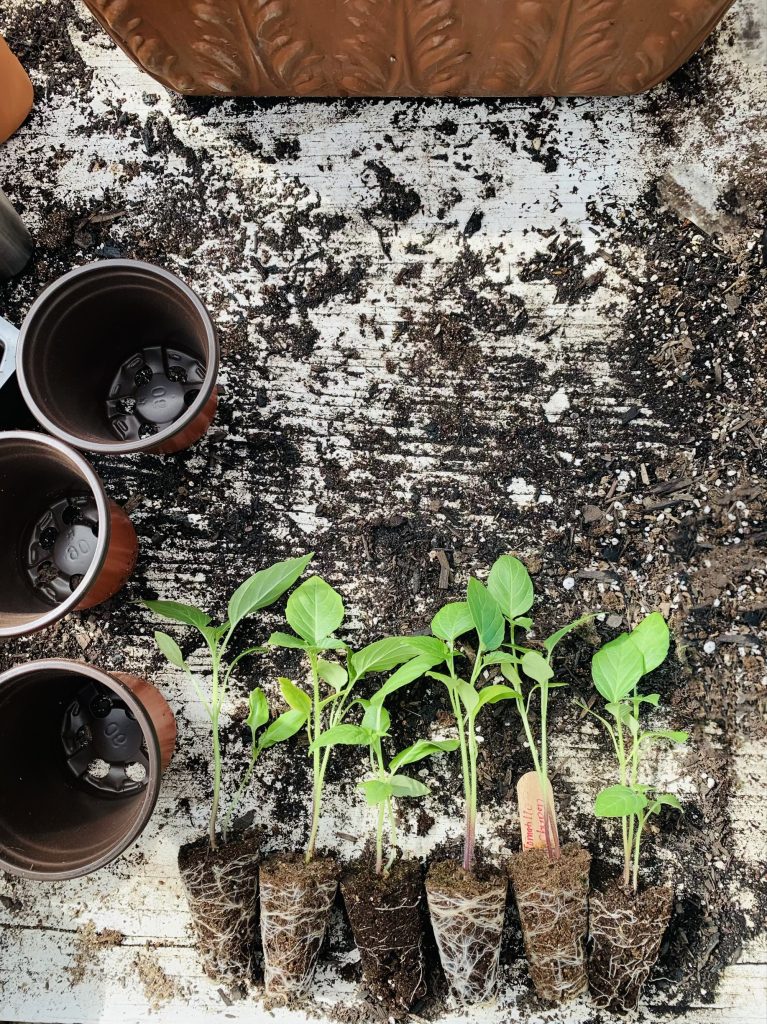
- Seedlings are ready to be separated and moved to a bigger pot once they are a few inches tall. Gently remove seedlings by pushing up from the bottom and separating each individual seedling and potting it up in a 2-4 in pot depending on the space you have under the grow lights. (using regular potting mix at this stage)
- At this time go ahead and fertilize with some fish fertilizer at ½ strength.
- These seedlings will live inside until the weather is warm or cool enough to set them outside.
- When ready to plant outside begin the hardening off process. Set your plants in a shady spot for half an hour increasing the time by an hour every day and moving them to the sun on the 6-7 day they can be transplanted into the garden. Keep them well watered and soon enough you will be harvesting!
BONUS: For my Central CA Valley friends here is the planting schedule that I have come up over the years growing in zone 9B (With some modifications over the years/ First frost Nov 29 -last frost date Feb 10) The amount of produce that can grow in this area is nothing short of amazing. From citrus to tropical guavas our Mediterranean climate is suited for SO many vegetables. Although we have a long growing season summers are quite hot limiting us to grow warm season crops with shade cloth & higher heat tolerant varieties. We do get an opportunity to grow year-round with some planning! Cold season crops thrive fall, winter & early spring & warm season crops spring-fall there’s always something growing!
| JANUARY-FEBRUARY | INDOORS– Start warm season crops (starting with peppers, tomatoes, eggplants) OUTDOORS– Direct sow root crops, lettuces, leafy greens, peas and rest of cool weather crops or transplant purchased brassica starts. |
| MARCH -APRIL | OUTDOORS-Transplant out warm season seedlings OR begin to direct sow warm season crops into the garden. |
| MAY-JUNE | OUTDOORS-Continue to direct sow warm season crops, and transplants into the garden (Focusing on heat tolerant plants.. (Okra, malabar spinach, Armenian cucumbers, melons, Thai soldier beans, tomatillos, sweet potatoes, jicama, summer squash, Chinese noodle beans) |
| JULY-AUGUST | INDOORS: Start cool season crops indoors (Especially Broccoli, cauliflower, cabbage, celery for a second brassica planting) OUTDOORS: Late August Direct sow root crops and peas and cool season crops for a fall planting. (Temps are usually still very hot, protect seedlings with shade cover) |
| SEPTEMBER- OCTOBER | OUTDOORS: In early September start onions and direct sow cool season greens like lettuces and kales or purchased transplants. |
| NOVEMBER- DECEMBER | OUTDOORS- Plant out garlic and onion sets, succession sow cool season seedlings. Direct sow wild flowers. Plant out fall bulbs for spring blooms (tulips, daffodils, crocus..ect..) |
I know this was tons of information! but I’m sharing things I wish I knew when I just started gardening. I hope that this guide was helpful and informative. I really wanted to give you a foundation so you can understand the basics of seed starting and valuable information I have gathered over the years. Like I said at the beginning don’t be afraid to make mistakes. The best gardeners have made lots of them and gained experience.
I hope that you feel equipped to start off this 2025 garden season. I am always here to answer questions. May this 2025 be your year for a thriving and flourishing garden.
Tahiri! 💚